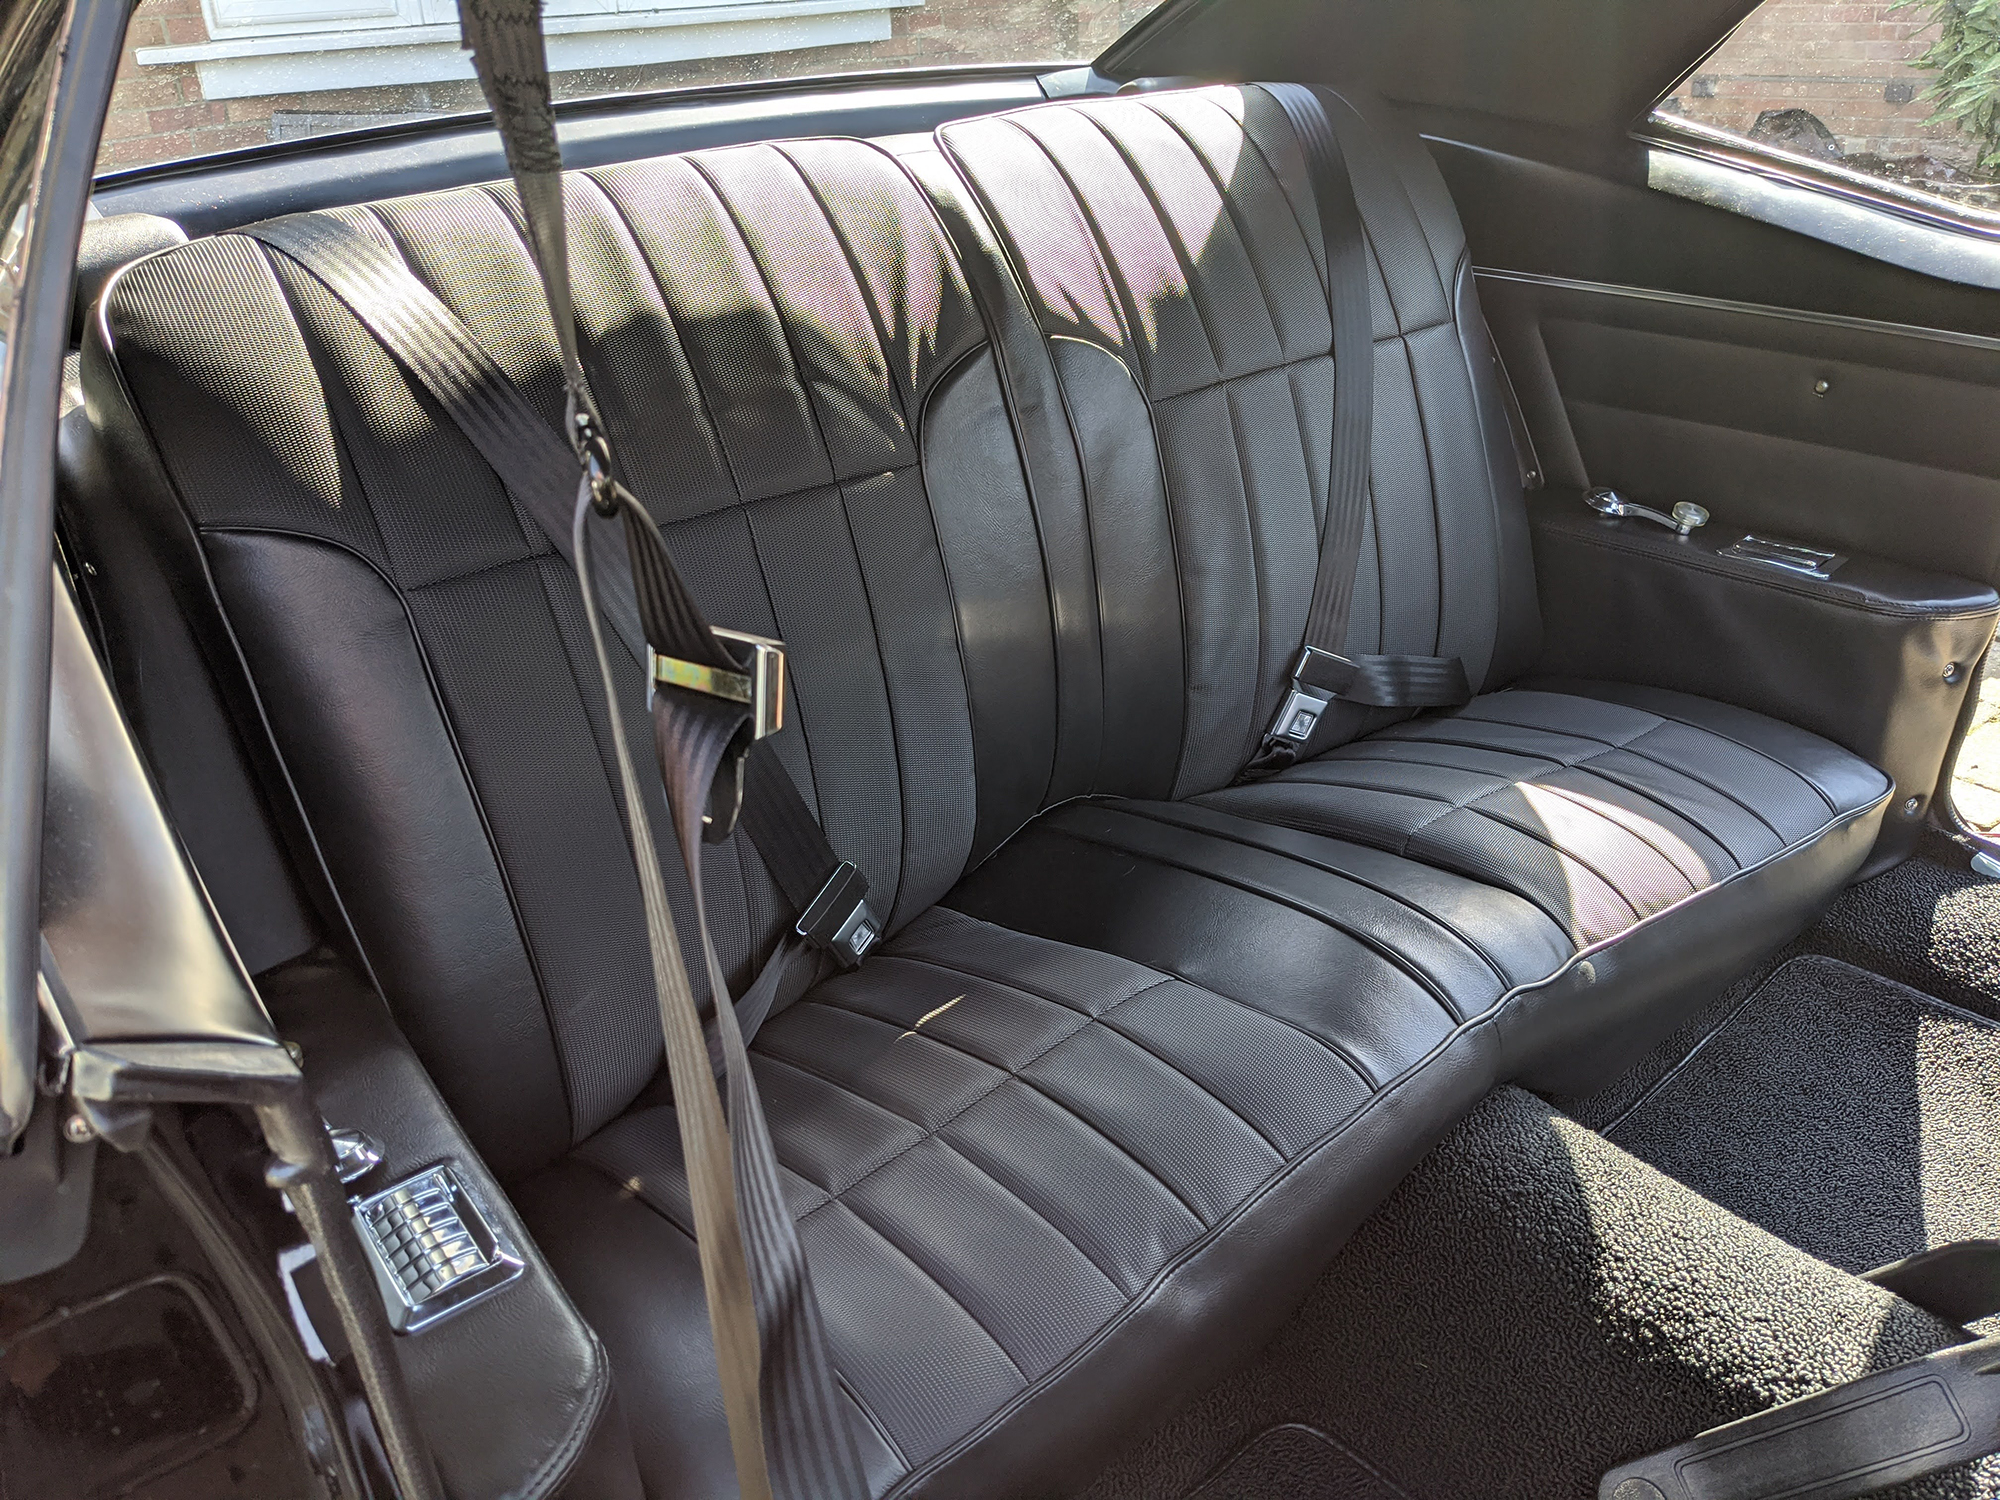
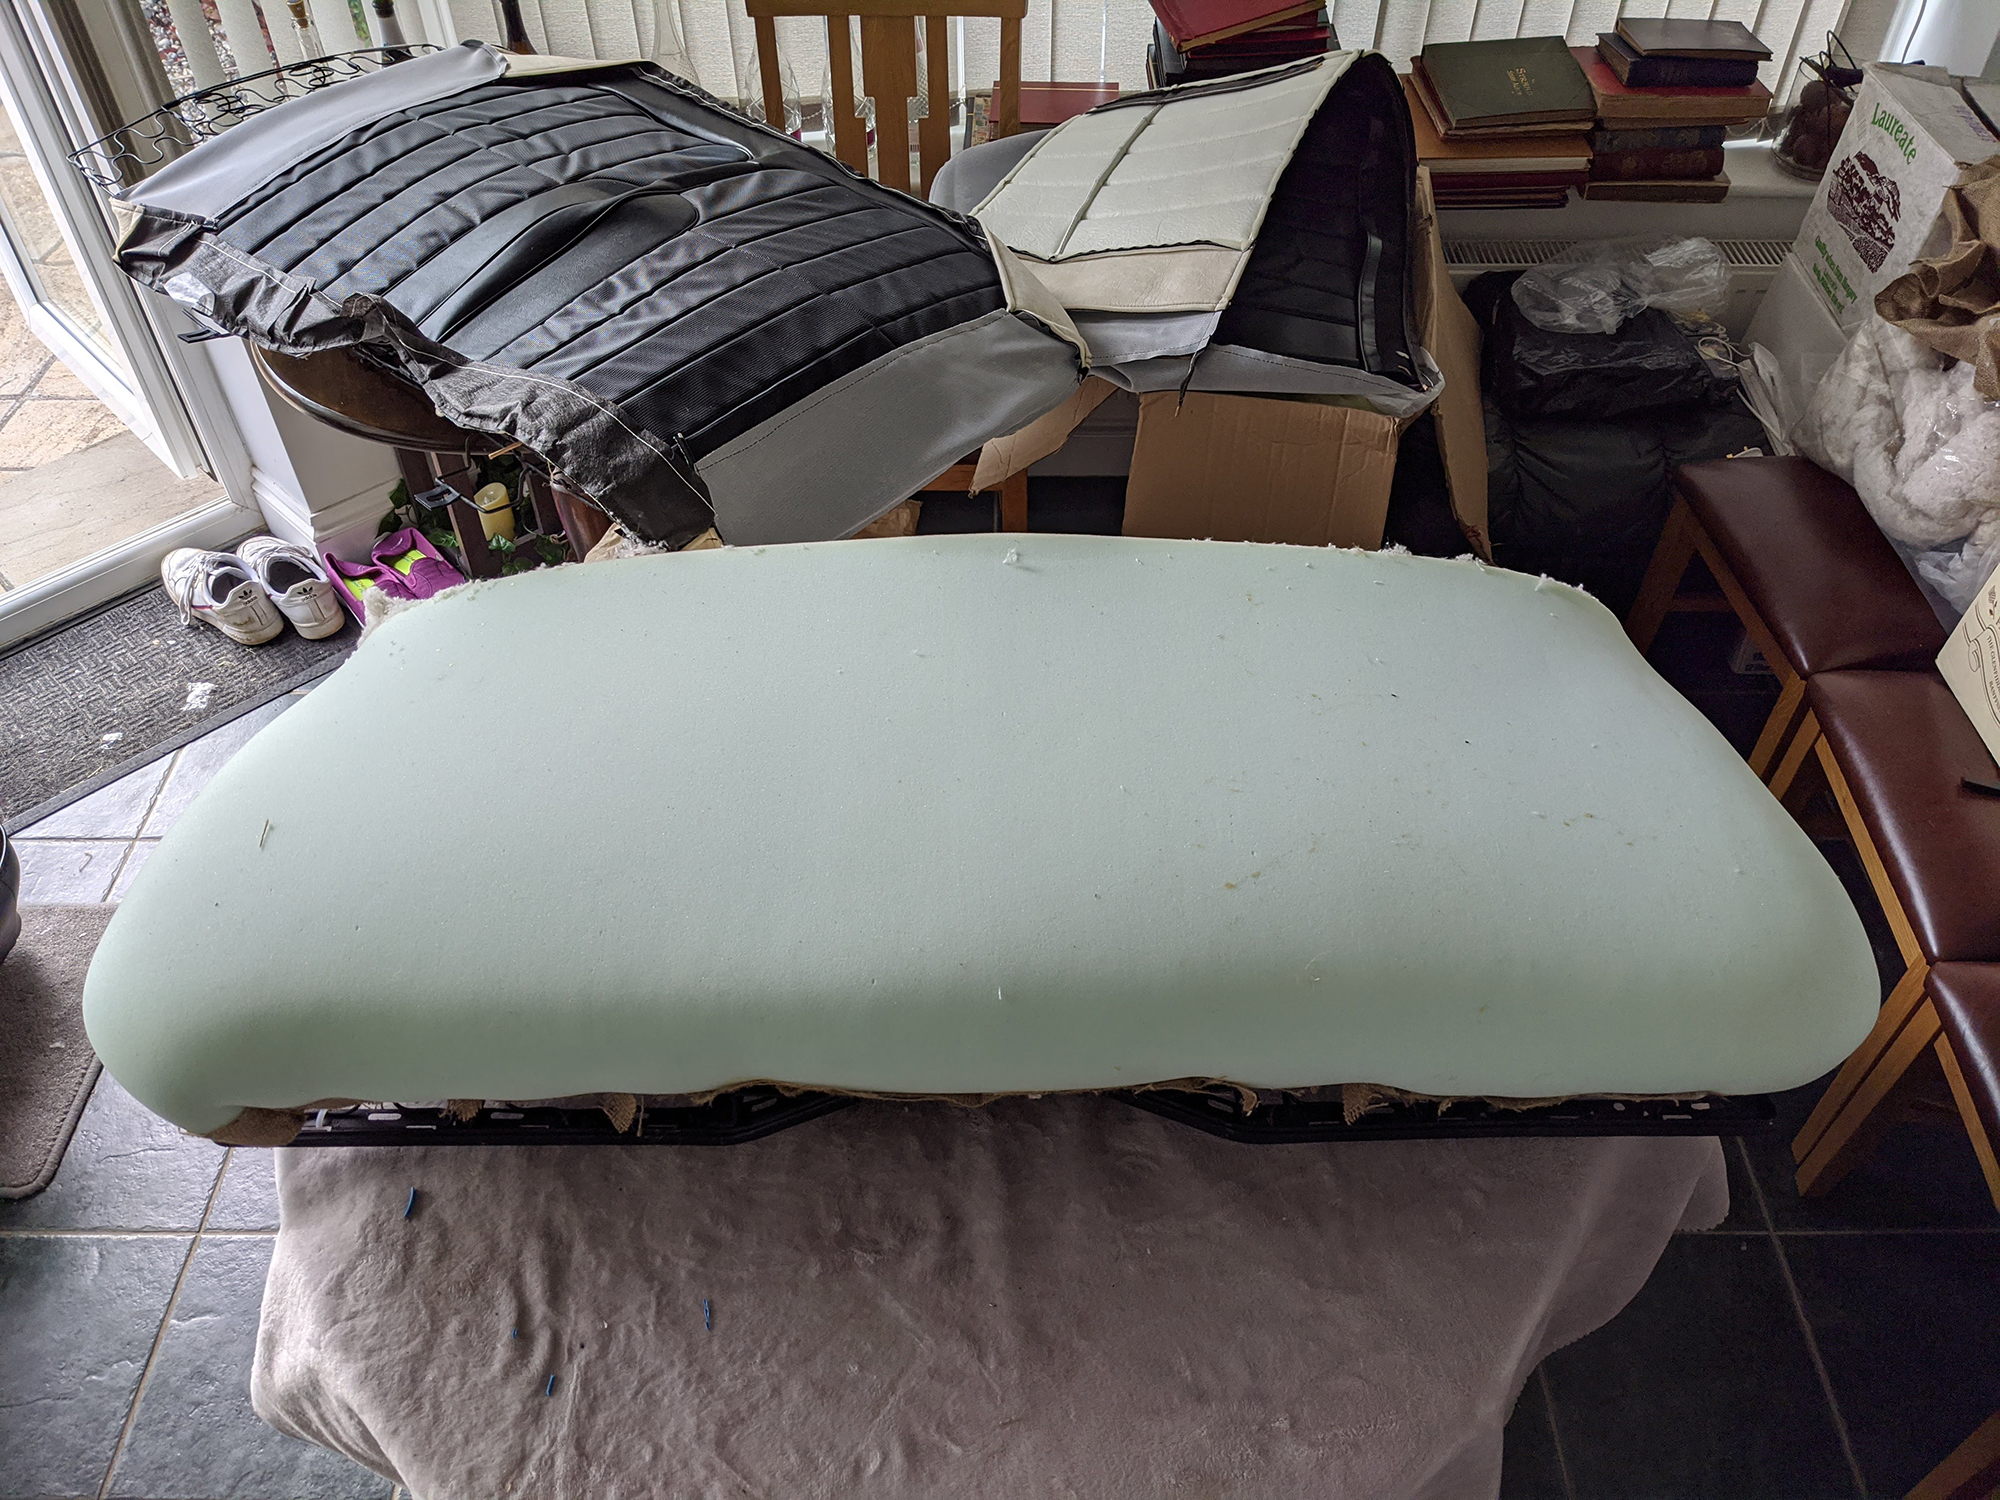
Welcome!

This is a blog detailing the complete restoration of my 1967 Pontiac Firebird. Click here to read from the beginning.

Interior door panels

Latest!
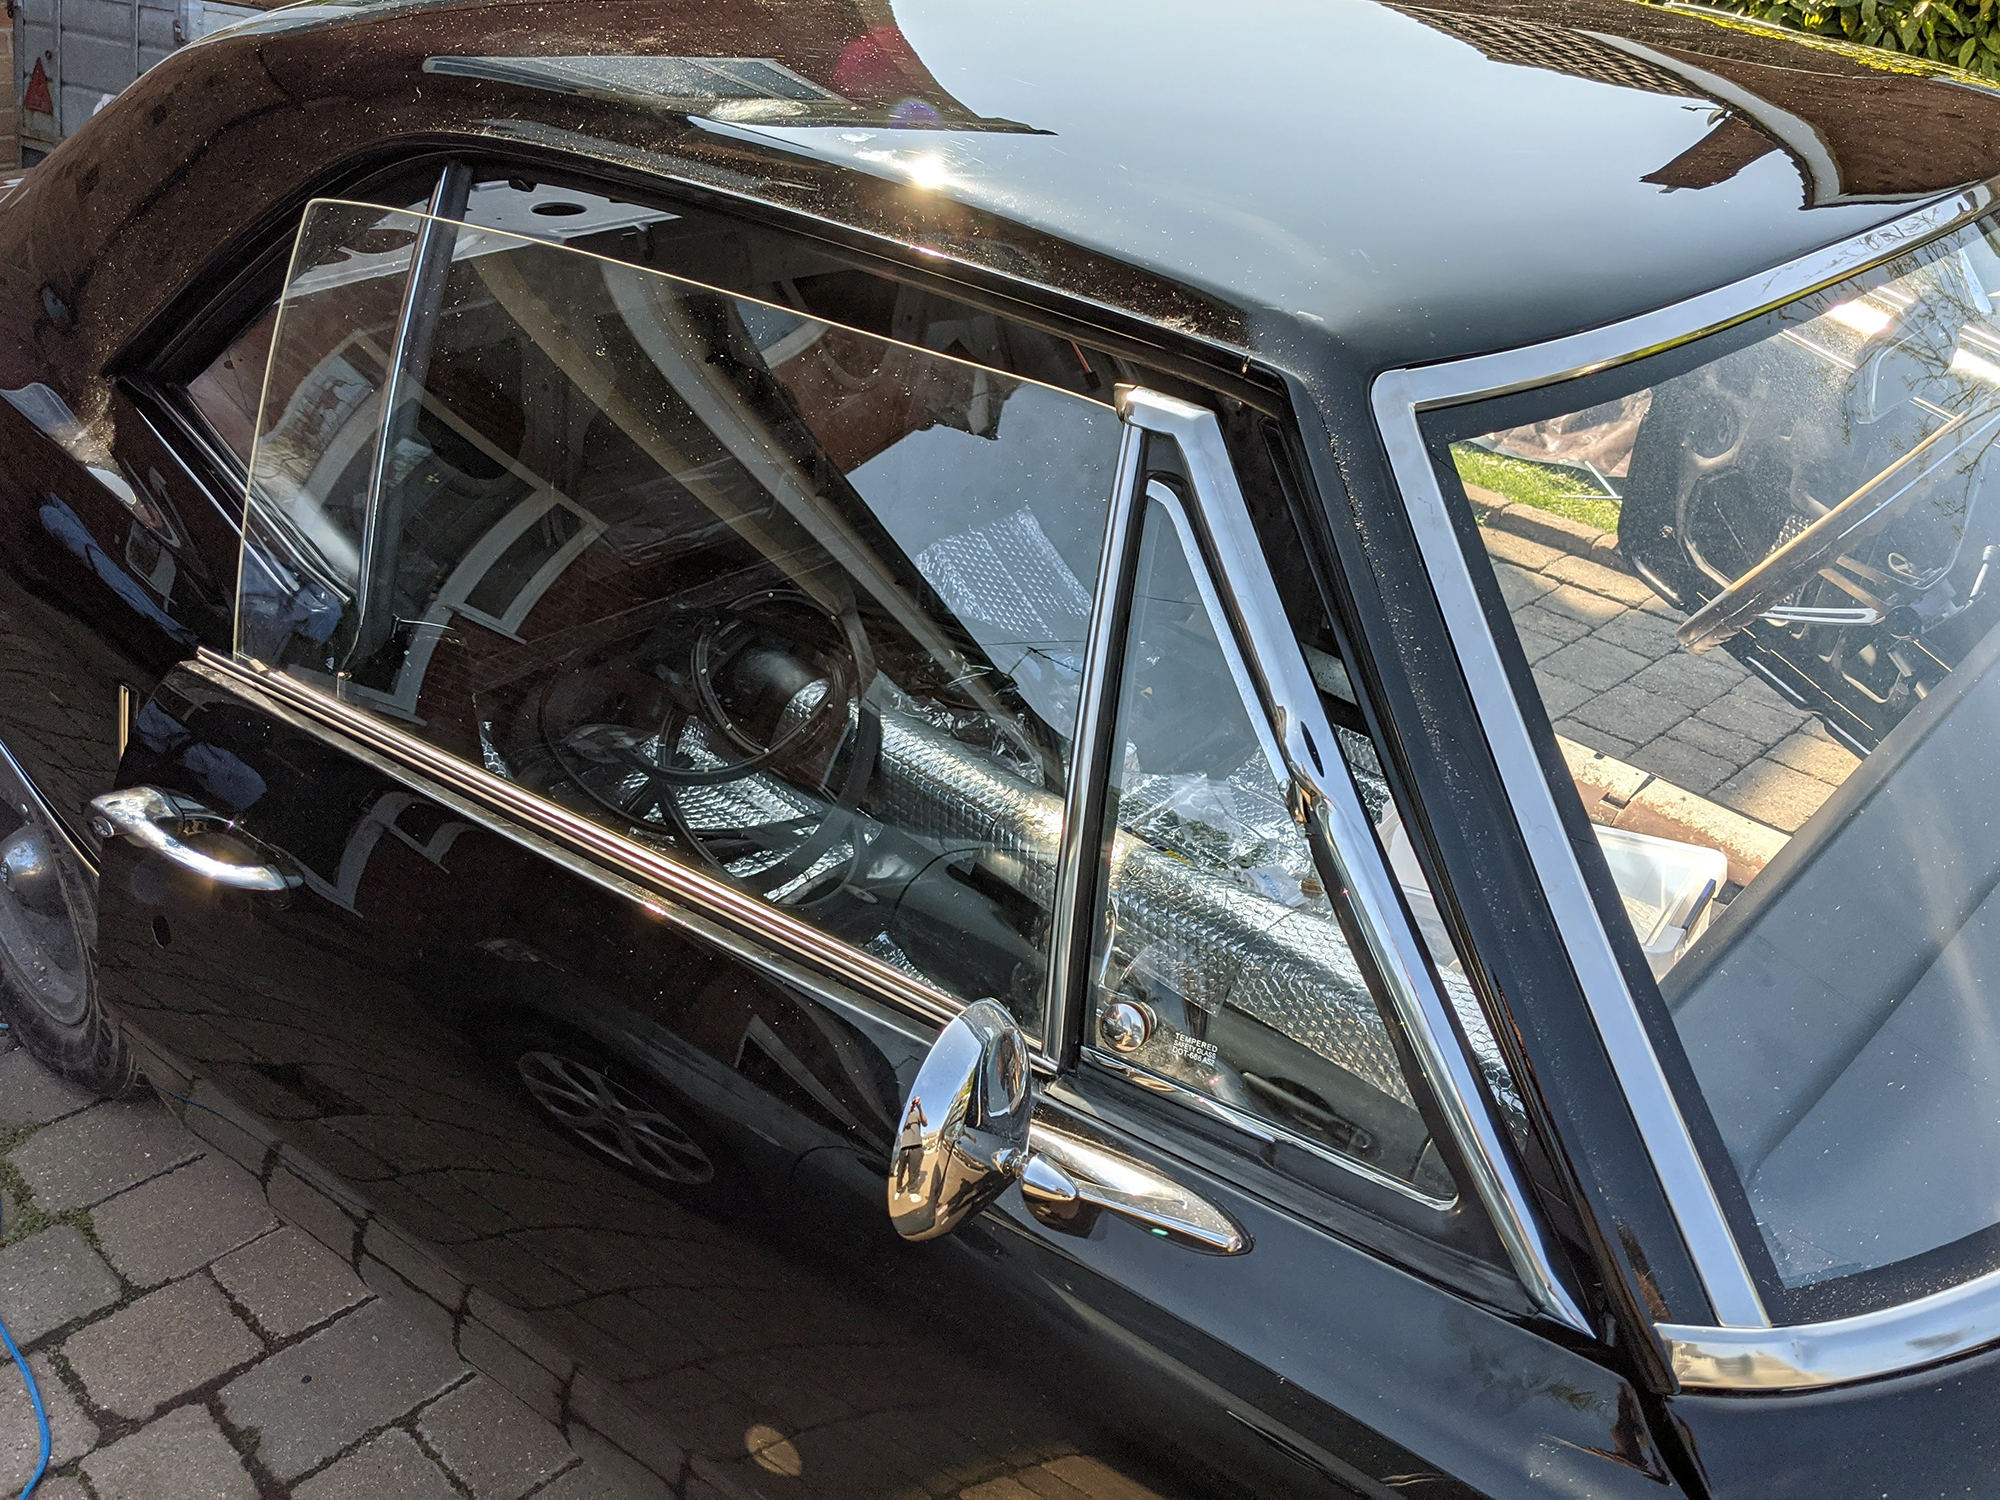
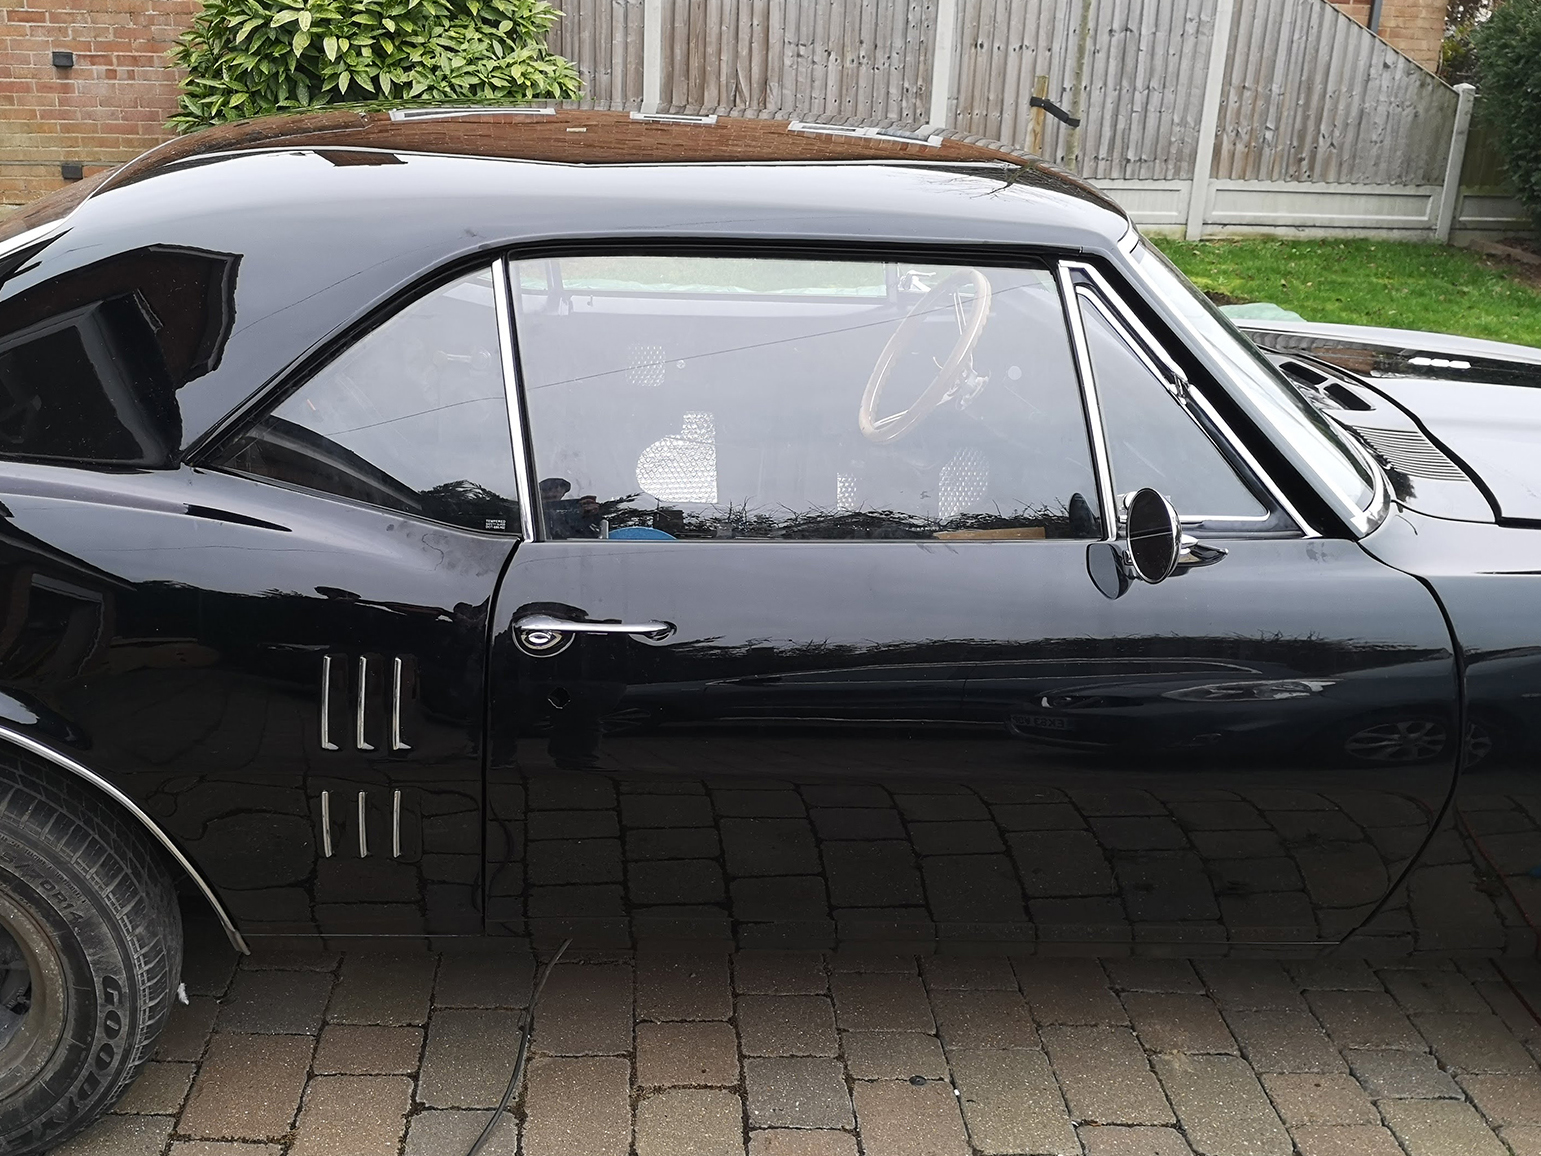
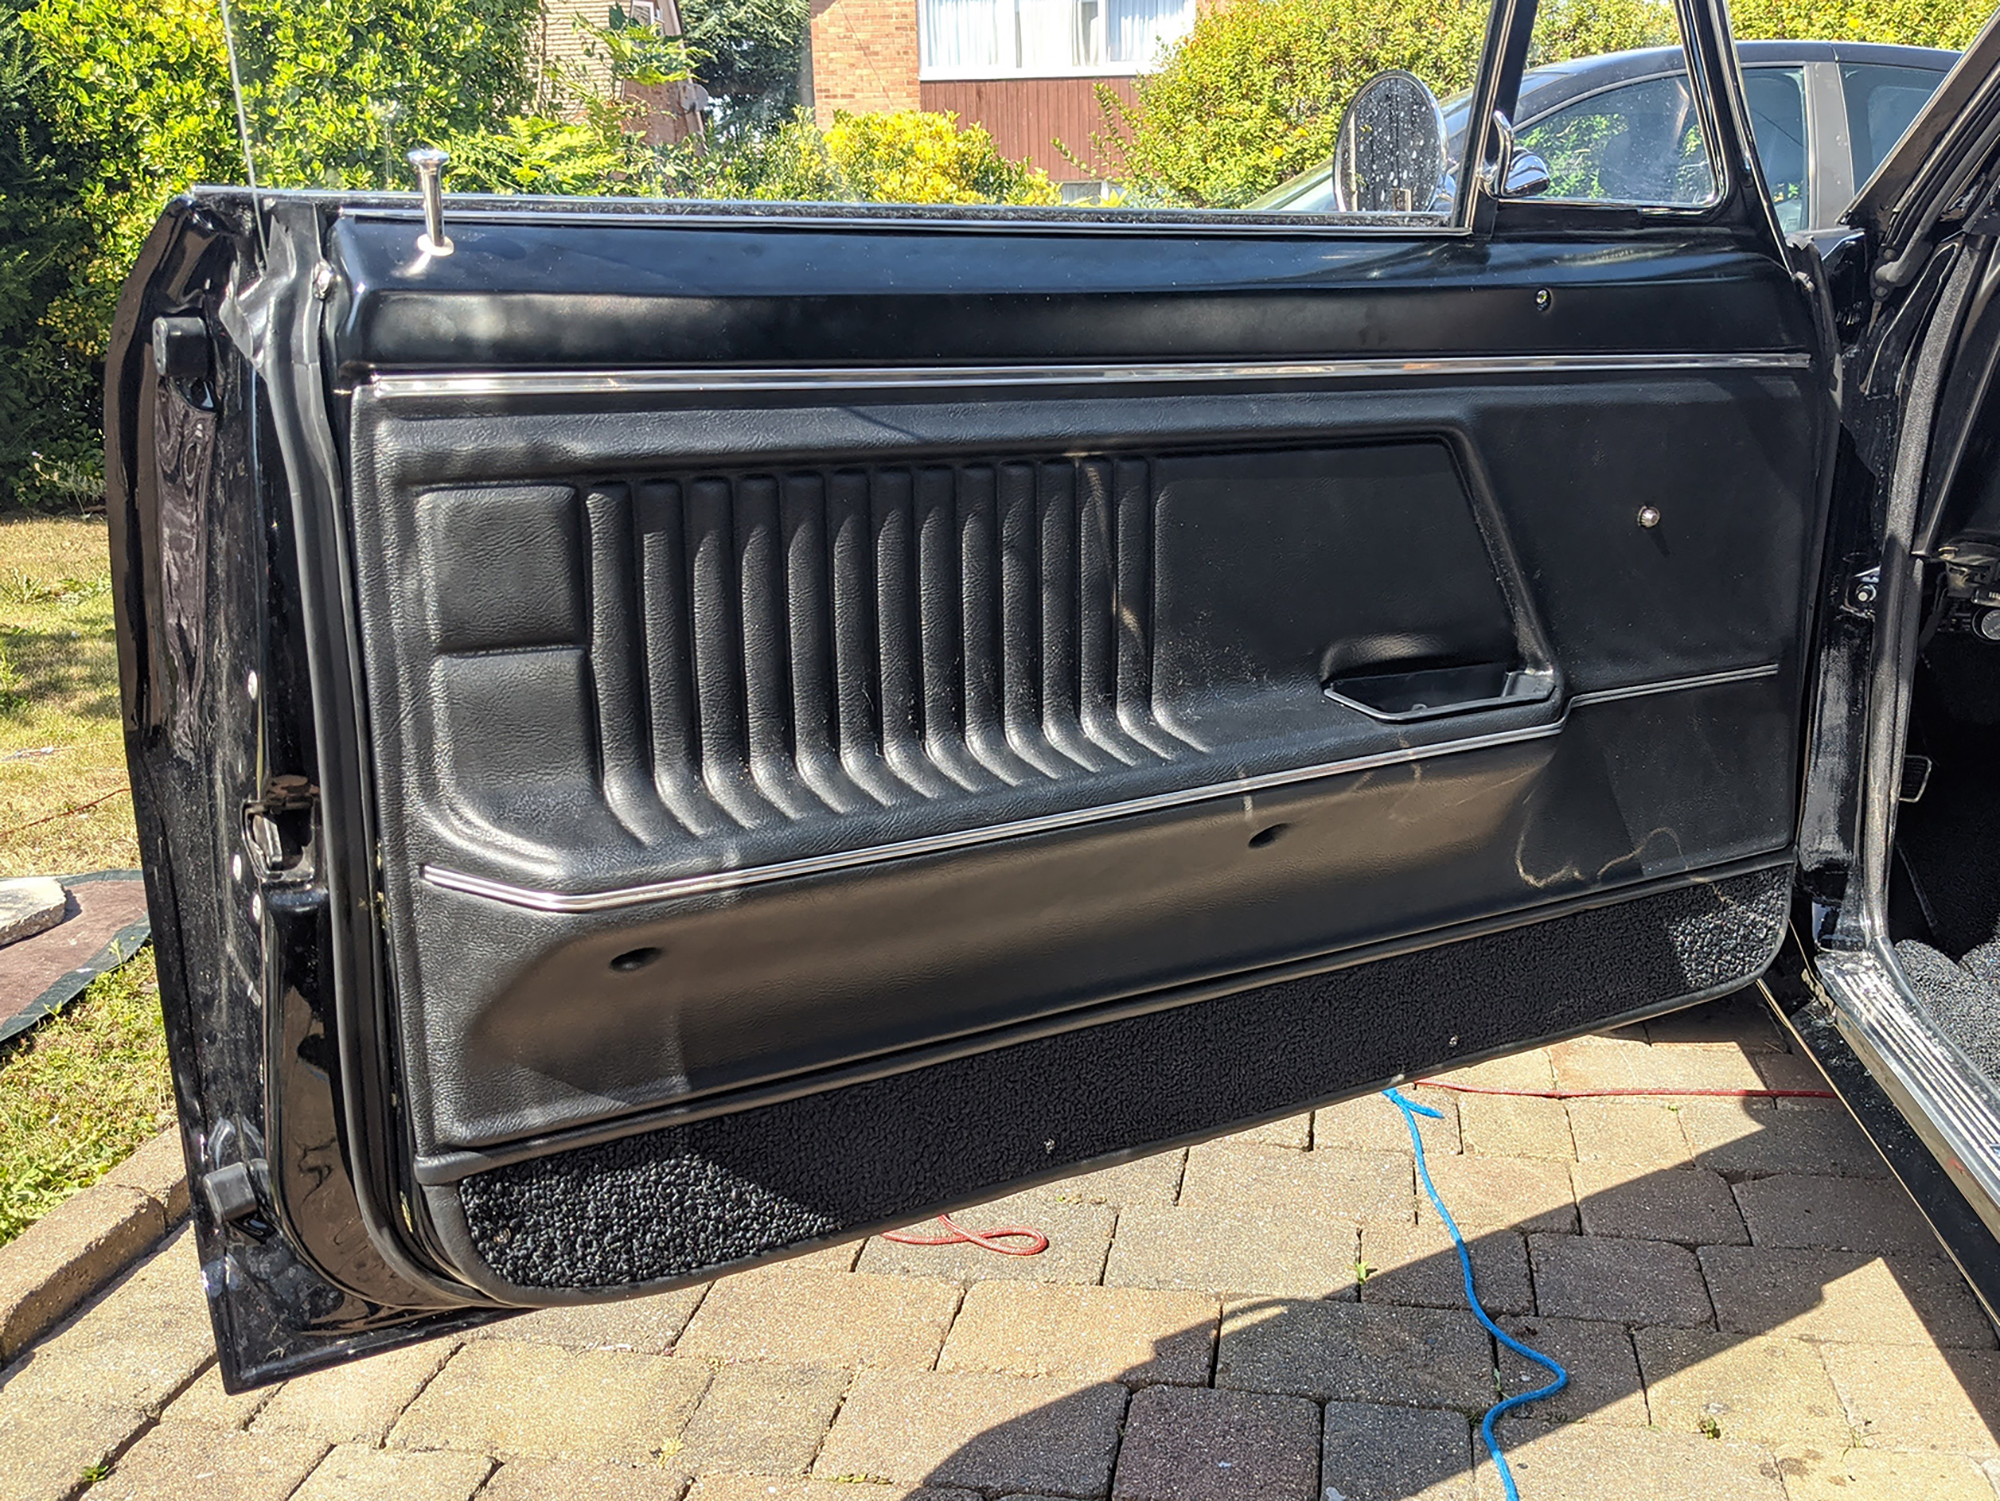
The door internals have all been installed. The window regulator, door locks, door handles and side mirrors are in or on. With the internals complete the first thing was to make a watershield to stop the rain splashing onto the interior panel. This is then sealed around the perimeter to the door shell. The bottom tucks into the opening and is taped over. 
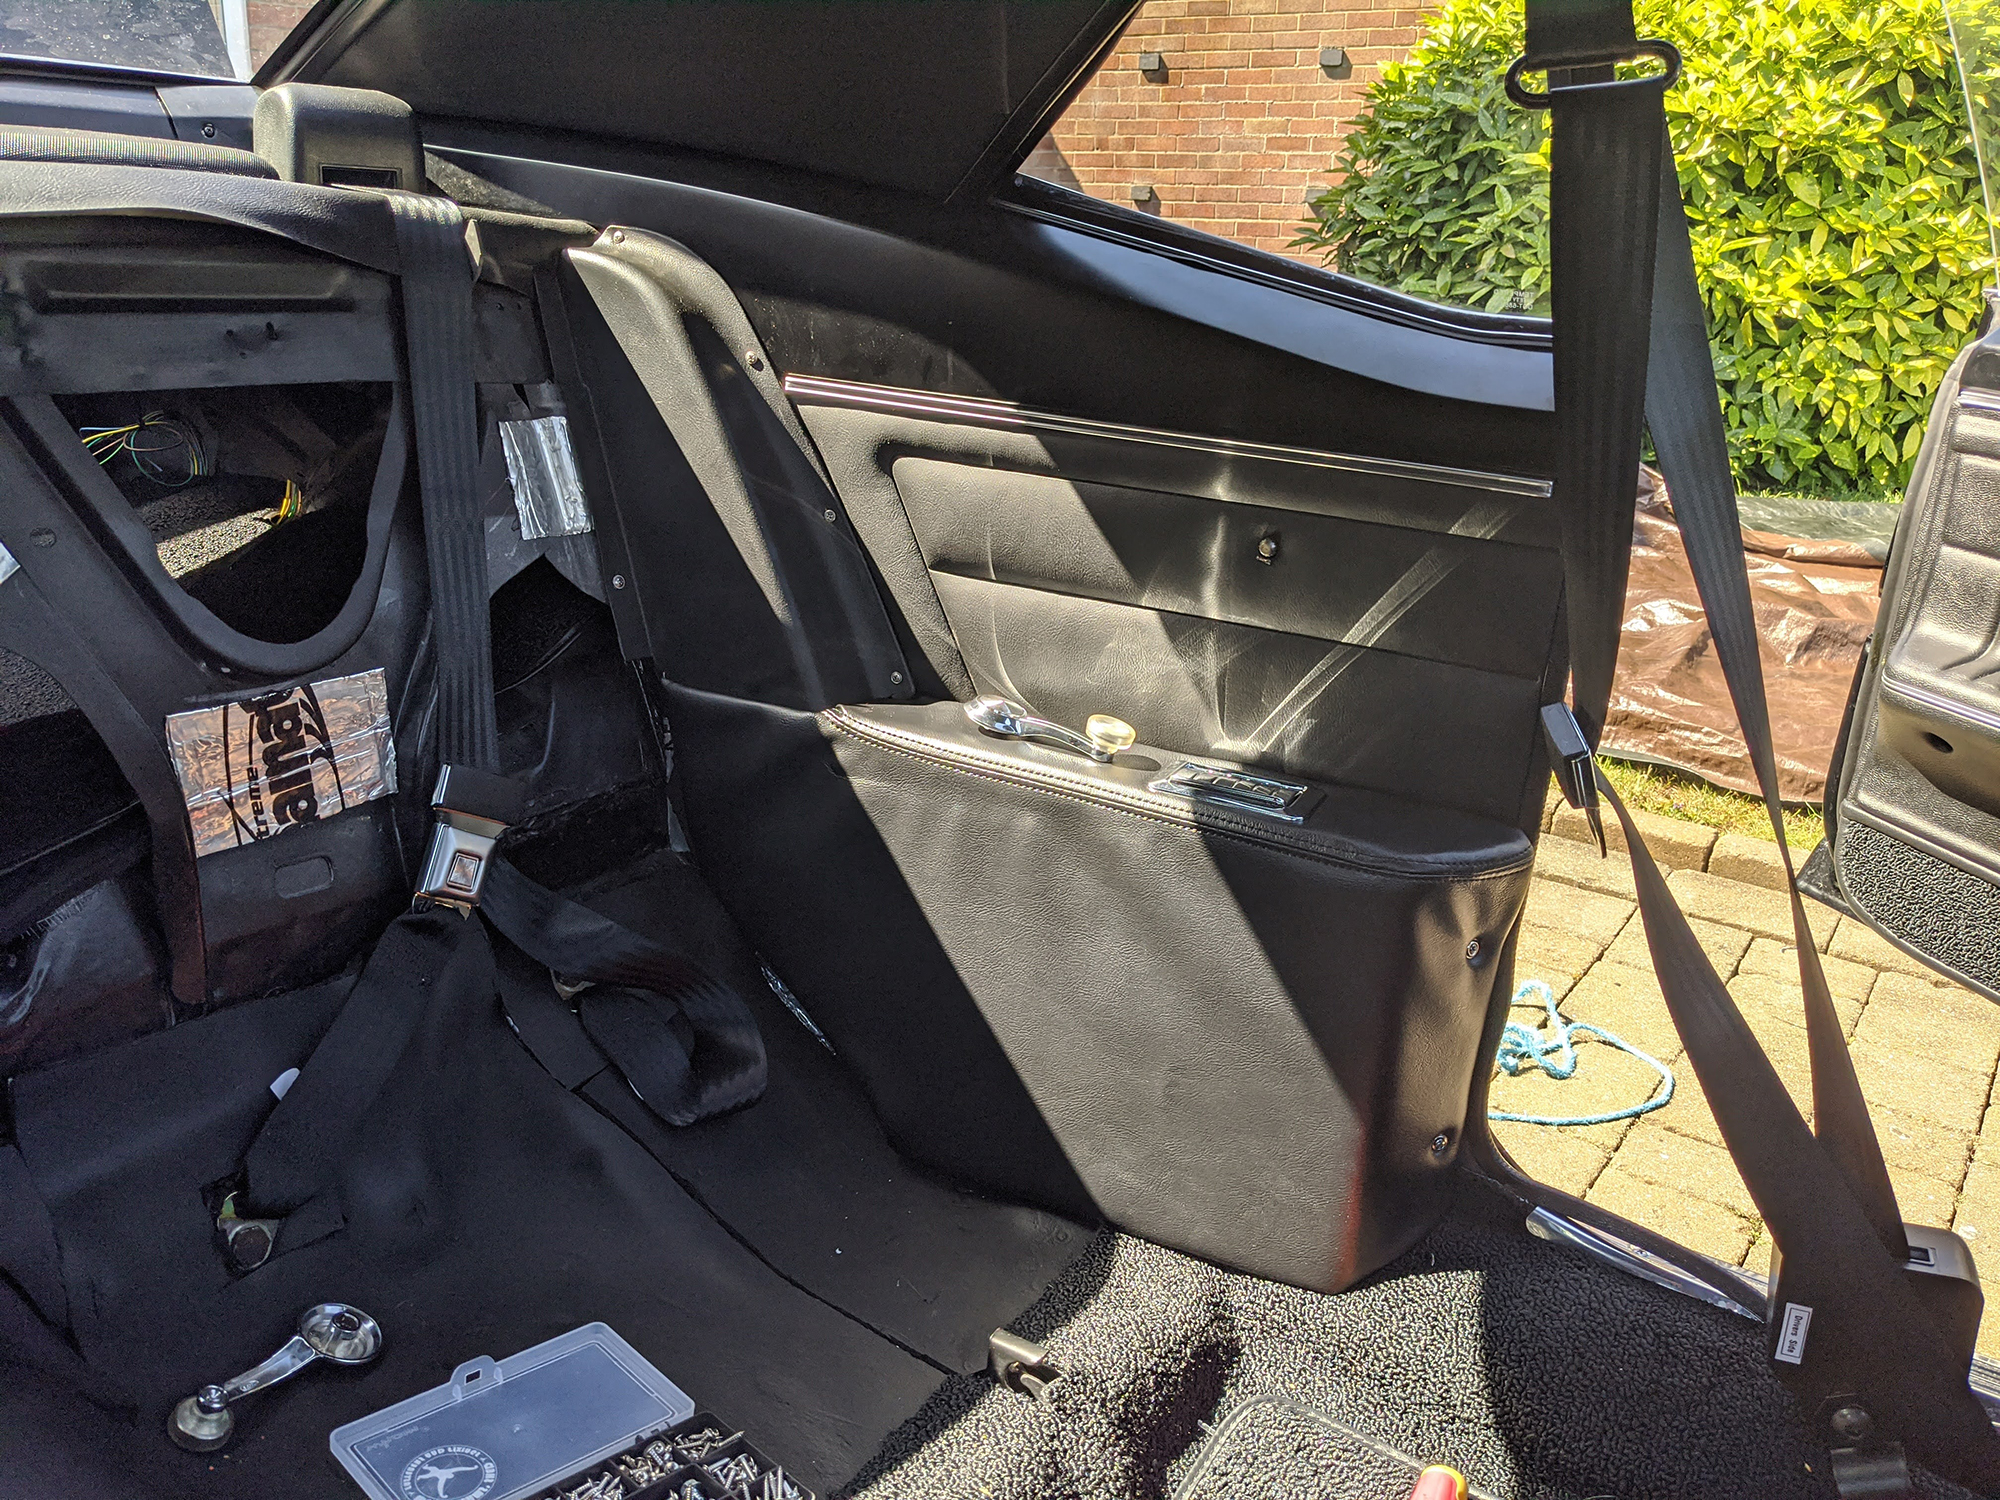
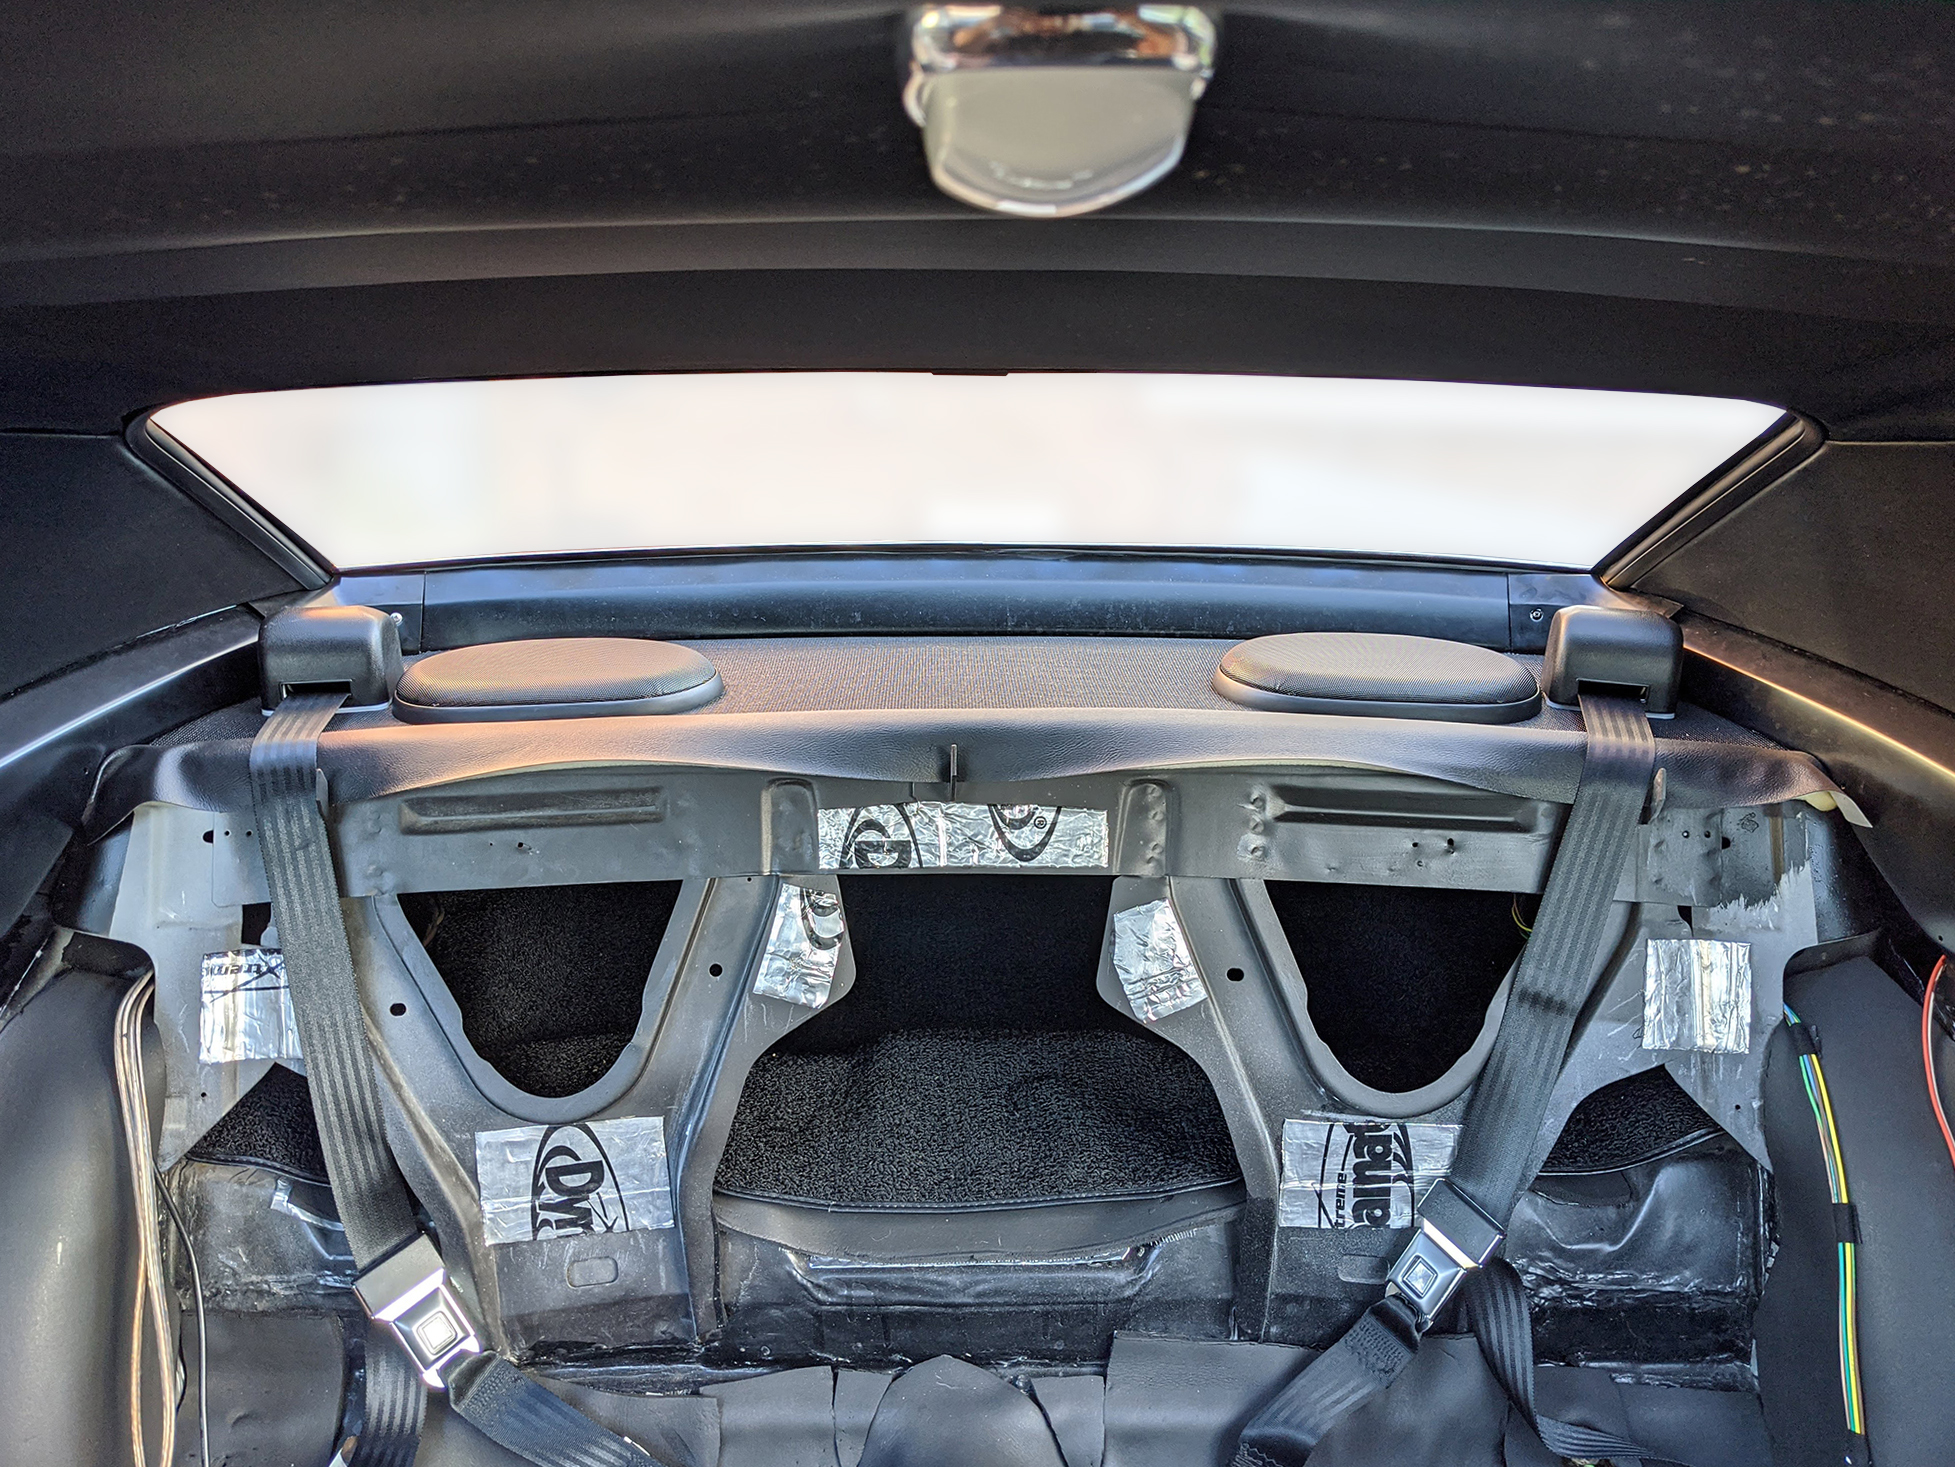
This is the arm rest support, the…
Read the full post

Rear seat install

This is pretty straight forward The back pieces goes on first. It slides down onto the 3 hooks (see 1st image below) along the top edge and is then bolted in two places at the bottom The bottom piece is last, this just gets wedged under the back piece and gets secured in 2 clips (see one of them in the last image above) along the front edge.…
Read the full post

Rear interior

With the windows (finally) done I could get the few pieces of rear interior put in First up was de-rusting, painting and then covering the rear arm rests. Before the vinyl I used a sheet of sound-absorbing foam to pad it out a bit. After the vinyl cover the new ash trays were popped into a cut-out hole   In the car… First was to make a watershield to protect…
Read the full post

Rear seat repair and reupholstery

I’m reusing the original rear seat frame. It wasn’t in the best of shape in some places.. but overall it was decent First I removed all the rust and gave it a lick of paint In just a couple places the wire had worn/rusted through. I fixed this with a few bits of hollow tube around the worn steel and secured with zip ties. Next was to re-cover the seat.…
Read the full post

Door glass alignment

This was probably the worst thing in the whole process of this car. After getting all the weatherstripping in the door opening installed the process goes like this: First, align the vent window corner. Then, align the door glass to the vent window and the top of the door opening. And finally, align the quarter glass to the door glass. There’s a great video on youtube of this being done.…
Read the full post

Door and quarter glass install

The window glass was installed – I reused almost all of the original mechanisms, apart from the front vent window because it had rusted through.   First, vent window went in. This was a bit tricky to manoeuvre into place without scratching the paint, the trick was to rotate it 90 degree then when half win in rotate it back to normal, some other rotations got it into the final…
Read the full post

Wipers and motor

Today I got the windscreen wipers, the wiper linkage, the wiper motor and washer pump installed. First the washer pump was mounted to the wiper motor. The replacement looked a little different to the original, but it works fine. I had to remove the plastic cover to find a second mounting point on this wiper motor. I reused the original connecting linkage The original mounting points on the car was…
Read the full post

Rear 3-point seat belts

I upgraded the rear seat belts to a 3-point harness. I used a kit from Morris Classic. Like the front belts the install was straight forward, though here a couple holes were required to be drilled through the rear deck (parcel shelf). With the shelf, speakers and belts now in place the next thing on the interior to-do list will be to get the rear bench seat and surrounding…
Read the full post

Rear quarter sail panels

The sail panels I previously installed turned to sh!t. I think it was poor quality contact adhesive that melted in the heat… I had previously made these panels myself as I thought they needed to be a little larger than original to cover up a couple errors in the headliner install. As it turns outs the stock size will work, just about, though if you push and look closely you…
Read the full post

Parcel shelf and speakers

I installed a pair of 6×9″ RetroSound speakers on the rear parcel shelf. I also put in the rear parcel shelf (or rear deck) on top of a layer of sound deadening foam. These speakers will be getting paired with a Retrosound dash speaker and radio. Note that I installed the rear seat belts at the same time, see that post here.…
Read the full post

Front 3-point seat belts

To upgrade the safety I’m installing new 3-point seat belts to replace the stock lap-belts. A kit from Morris Classic makes this very easy. There is no fabrication needed, all mounting points exist: the bottom two points are the same as the stock belts and the top shoulder mount point exists but is unused on the stock Firebirds/Camaros. During the headliner install I made sure to install the upper belts…
Read the full post